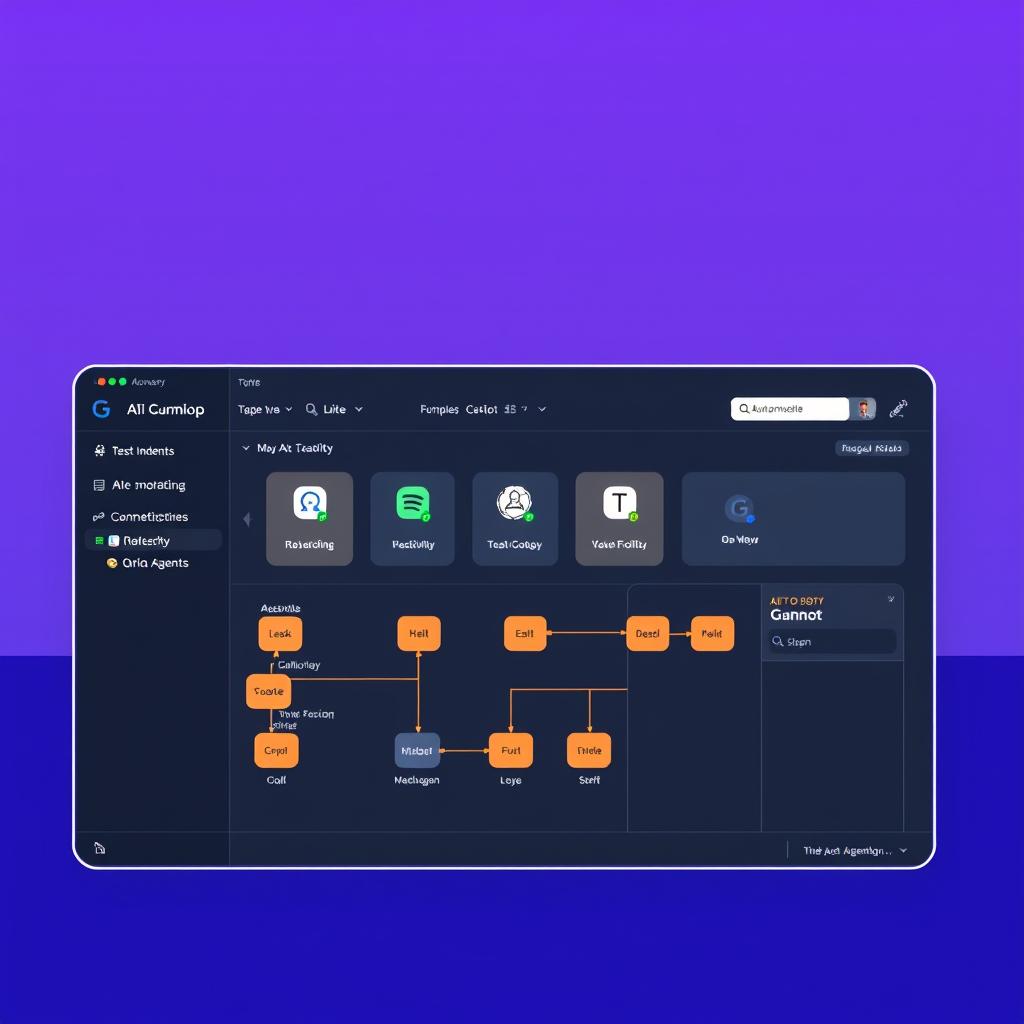
Build an AI-Powered Content Research Workflow in Gumloop — 2026 Step-by-Step Tutorial
Learn how to build an automated content research & brief generator in Gumloop — no API keys, no coding. Step-by-step with AI-powered web research, summarization, and Google Sheets output.
TL;DR: This tutorial walks you through building an automated content research workflow in Gumloop — from a blank canvas to a working flow that researches topics, summarizes findings with AI, and saves structured briefs to Google Sheets. No API keys, no code, no setup. Total time: about 20 minutes.
Why Gumloop for Content Research?
Content research is one of those tasks that looks simple but eats hours — searching for sources, reading articles, pulling out key points, organizing everything into a brief. If you’re a content marketer, SEO specialist, or solo creator, you’ve spent an afternoon doing what an AI workflow can do in 10 minutes.
Gumloop is well-suited for this because it was built AI-first. Unlike Zapier or Make (which bolt AI on top of rules-based automation), Gumloop’s entire node system is designed around AI processing. Every workflow can call GPT-4o, Claude 4 Sonnet, or Gemini 2.5 Pro without managing a single API key [1]. The free tier (5,000 credits/month) is enough to build and test this entire tutorial [2].
If you’re new to Gumloop, start with our full Gumloop review for a platform overview, or check the Gumloop vs n8n comparison to see how it stacks up against alternatives.
What You’ll Build
By the end of this tutorial, you’ll have a workflow that:
- Accepts a topic (via a simple form or webhook)
- Generates search queries using AI based on the topic
- Searches the web for relevant articles and sources
- Summarizes each source using an LLM node
- Compiles a structured brief with key findings, statistics, and angles
- Saves everything to a Google Sheet for reference
Here’s the flow at a glance:
Topic Input → AI Query Generator → Web Search (3 queries)
→ AI Summarizer (per result) → Brief Compiler → Google Sheets Output
Prerequisites
| Item | Cost | Where to Get It |
|---|---|---|
| Gumloop account (Free plan) | $0/mo (5,000 credits) | gumloop.com |
| Google account (for Sheets) | Free | sheets.google.com |
| Web browser | Free | You’re using one right now |
Cost note: This tutorial uses about 200-300 credits per run (mostly on the AI nodes). On the Free plan’s 5,000 monthly credits, you can test this workflow 15-20 times before hitting limits. For regular use, the Pro plan ($37/mo for 20,000+ credits) gives plenty of headroom [2].
Step 1: Create Your Gumloop Account
- Go to gumloop.com
- Click Get started free
- Sign up with your email, Google, or GitHub account
- Confirm your email address
You land on the Gumloop dashboard. The layout shows your Flows on the left, a canvas area in the center, and a node library on the right.
Screenshot idea: The Gumloop empty dashboard showing the “Create Flow” button and the node library panel on the right.
Step 2: Create a New Flow
- Click Create Flow (top-left, or the “+” button)
- Name your flow:
Content Research Assistant - Add a description:
Researches any topic, summarizes sources, and saves a structured brief to Google Sheets - Click Create
You’re now looking at a blank canvas with a single Start node.
Screenshot idea: The blank Gumloop flow canvas with the Start node and the empty drop zone.
Step 3: Add a Trigger (How You’ll Input Topics)
Gumloop supports several trigger types: webhook, schedule, Slack command, and manual input. For this tutorial, we’ll use a Webhook trigger — the most flexible option.
- Click the + node after Start
- Search for Webhook in the node library
- Select Webhook > Receive Webhook
- Name this node:
Topic Input - Click Copy URL — this is your unique webhook endpoint
You can test the trigger later by sending a POST request with a JSON body like:
{
  "topic": "AI workflow automation for small businesses"
}
Screenshot idea: The webhook node configuration panel showing the URL field and the copy button.
Step 4: Add an AI Node to Generate Search Queries
Now the AI starts working. We’ll use Gumloop’s built-in LLM node to turn the raw topic into three targeted search queries.
- Click the + after the webhook node
- Search for LLM in the node library
- Select LLM > Call LLM
- Name this node:
Generate Search Queries - In the Model field, select GPT-4o (best balance of quality and speed)
- In the System Prompt field, paste:
You are a content research specialist. Given a topic, generate 3 specific web search queries that will find the most useful, recent, and authoritative information. Each query should target a different angle: one for recent news/updates, one for how-to/tutorial content, and one for data/statistics.

Format your response as a JSON array of strings, like:
["query 1", "query 2", "query 3"]- In the User Message field, map the input from the webhook: click the data pill and select
{{1.body.topic}}(Gumloop’s data pill syntax lets you reference previous node outputs) - Set Temperature to 0.5 (balanced between creativity and consistency)
Screenshot idea: The LLM node configuration showing the model dropdown, system prompt, and user message fields.
Pro tip: If you prefer Claude or Gemini, switch the model dropdown — Gumloop includes all major models with no extra setup [1]. This is a major advantage over n8n, where you’d need separate API keys for each provider.
Step 5: Parse the LLM Output
The LLM returns a JSON string. We need to parse it so individual queries can be used in the next steps.
- Click the + after the LLM node
- Search for Code or Transform
- Select Transform > Parse JSON
- Name this node:
Parse Queries - In the Input field, map
{{2.text}}(the output from the Generate Search Queries node) - The Output will be a parsed array you can loop over
Screenshot idea: The Parse JSON node with the input field showing the data pill reference.
Step 6: Add a Loop to Search for Each Query
Gumloop supports looping over arrays. We’ll loop through the three queries and search the web for each one.
- Click the + after the Parse JSON node
- Search for Loop
- Select Flow Control > Loop Over Array
- Name this node:
Loop Through Queries - In the Input Array field, map the parsed output:
{{3.parsed}}
Now, inside the loop:
- Click the + inside the loop body
- Search for HTTP or Web Search
- Select HTTP > Make an HTTP Request
- Name this node:
Search Web - Set Method to GET
- For URL, use a search API. If you have a SerpAPI or Google Custom Search key, configure it here. Alternatively, use Gumloop’s built-in web search:
- Switch to the node library and search for Search
- Select Search > Web Search (Gumloop’s native web search node, available on Pro)
- For the Free plan, use a public RSS-to-JSON endpoint or Wikipedia API:
- URL:
https://en.wikipedia.org/api/rest_v1/page/summary/{query}
- URL:
- In the Query field, map the current loop item:
{{4.item}}
Screenshot idea: The web search node inside the loop body, showing the query mapping.
Step 7: Summarize Each Result with AI
For each search result, we’ll have the AI write a concise summary focused on what’s useful for content research.
- Inside the loop, after the web search node, click +
- Add another LLM > Call LLM node
- Name this node:
Summarize Result - Set Model to GPT-4o-mini (cheaper for summarization — ~1/20th the cost of GPT-4o [3])
- In the System Prompt, paste:
You are a content research assistant. Summarize the following text in 3-4 sentences. Focus on:
- Key claims and data points
- Any statistics or numbers mentioned
- The main argument or finding
- Why this matters for someone researching this topic

Keep it concise and factual. Do not add opinions.- In the User Message, map
{{6.body}}or{{6.text}}(the search result content from the previous node) - Set Temperature to 0.3 (lower = more factual, less creative)
This runs once for each query in the loop, giving you three summaries.
Step 8: Compile the Final Brief
After the loop finishes, we’ll compile everything into a structured brief.
- Click the + after the loop node (outside the loop body — on the main flow)
- Add another LLM > Call LLM node
- Name this node:
Compile Brief - Set Model to GPT-4o
- In the System Prompt, paste:
You are a content strategist. Compile a structured content research brief from the following summaries.

Format your response as:

## Topic
[Original topic]

## Key Findings
- Finding 1 with source
- Finding 2 with source
- Finding 3 with source

## Statistics to Cite
- Stat 1
- Stat 2

## Competing Angles
- Angle 1
- Angle 2

## Gaps & Opportunities
- What's missing from current coverage
- Unique angle NI could take

## Sources
- Source 1
- Source 2
- Source 3- In the User Message, map
{{5.output}}(the collected output from all loop iterations — Gumloop automatically aggregates loop outputs into an array)
Screenshot idea: The Compile Brief LLM node showing the system prompt, model selection, and user message mapping.
Step 9: Save Results to Google Sheets
The final step saves the structured brief to a Google Sheet for future reference.
- Click the + after the Compile Brief node
- Search for Google Sheets
- Select Google Sheets > Add Row to Sheet
- Click Connect and authorize your Google account
- Select an existing spreadsheet, or create a new one called
Content Research Briefs - In the Spreadsheet field, select your sheet
- In the Sheet Name field, enter
Briefs - Map the columns:
- Column A (Topic):
{{1.body.topic}} - Column B (Brief):
{{8.text}}(the full compiled brief) - Column C (Date): set to current date (Gumloop has a
{{NOW}}variable) - Column D (Status): set to
Draft
- Column A (Topic):
Your Google Sheet should have headers in row 1: Topic, Brief, Date, Status.
Screenshot idea: The Google Sheets node configuration showing the column mapping and the connected Google account.
Step 10: Test Your Workflow
- Click Save (top-right of the flow editor)
- Click Run (the play button)
- Gumloop will ask for the webhook input — send a test request using curl or the built-in test panel:
curl -X POST https://your-webhook-url.gumloop.com/abcdef \
  -H "Content-Type: application/json" \
  -d '{"topic": "no-code AI agents for customer support in 2026"}'
Or use the built-in test panel:
- Click Run
- In the test panel that appears, paste
{"topic": "no-code AI agents for customer support in 2026"} - Click Submit
The flow will execute each node in sequence. Watch the nodes turn green as they succeed. If a node turns red, click it to see the error message.
| Step | Node | Expected Result |
|---|---|---|
| 1 | Topic Input | Webhook receives your topic → turns green |
| 2 | Generate Search Queries | Returns 3 search queries as JSON array |
| 3 | Parse Queries | Parsed array with 3 items |
| 4 | Loop Through Queries | Runs 3 iterations (one per query) |
| 5 | Search Web (inside loop) | Returns search results for each query |
| 6 | Summarize Result (inside loop) | Returns 3-4 sentence summary |
| 7 | Compile Brief | Structured brief with all sections |
| 8 | Google Sheets Add Row | New row added to your spreadsheet |
What You’ve Built
Let’s recap the flow:
- Input — A webhook trigger accepts a topic
- AI query generation — GPT-4o turns the topic into 3 targeted search queries
- Web search — Three searches run in a loop, each targeting a different angle
- AI summarization — Each result is summarized by GPT-4o-mini
- Brief compilation — GPT-4o compiles all findings into a structured content brief
- Storage — The brief is saved to Google Sheets with metadata
The key insight: Gumloop handles all the AI infrastructure. You never touched an API key, never configured a model endpoint, never set up a database. The AI is just another node on the canvas, and you can swap models with a dropdown [1].
Real-World Usage
Here’s what this workflow looks like when you run it daily:
| Time | Task | Without Automation | With Gumloop |
|---|---|---|---|
| 9:00 AM | Research “AI customer support” | Open 15 tabs, read articles, take notes | Run workflow → brief appears in Sheets |
| 9:15 AM | Organize findings | Copy-paste into document | Already structured in the brief |
| 9:30 AM | Identify angles | Manual analysis | LLM suggests competing angles and gaps |
| 10:00 AM | Start writing | Still researching | Writing with a research brief ready |
A content agency using a similar Gumloop workflow reported saving 25 hours of analyst time per month — a cost of $3.88 per hour saved based on the Pro plan’s credit consumption [4].
Customization Ideas
This workflow is a template. Here are ways to extend it:
| Modification | How | Why |
|---|---|---|
| Add Slack output | Add a Slack > Send Message node after Sheets | Get briefs delivered to your team channel |
| Add scheduled runs | Change the trigger from Webhook to Schedule > Cron | Research the same topics daily/weekly |
| Add human review step | Add a Wait for Approval node before saving | Review AI summaries before they hit the sheet |
| Use different models | Change the model dropdown per node | Claude for deep analysis, GPT-4o-mini for speed, Gemini for web-grounding [1] |
| Add sentiment analysis | Insert an LLM > Classify Text node | Track whether coverage is positive/negative/neutral |
| Save to Notion instead | Use Notion > Create Page instead of Google Sheets | Keep research in your content calendar |
Troubleshooting
| Problem | Likely Cause | Fix |
|---|---|---|
| LLM returns empty output | Topic input is empty or malformed | Check the webhook payload format — must be JSON with a topic field |
| “Credits exceeded” | Free plan limit reached | Wait for monthly reset or upgrade to Pro ($37/mo) [2] |
| Loop runs 0 times | Parsed JSON is empty | Check the LLM output format — ensure it returns valid JSON array |
| Web search fails | Anti-bot protection blocks the request | Use Gumloop’s native Web Search node (Pro plan) or a dedicated search API |
| Google Sheets node errors | Sheet not shared with Gumloop | Check Google account authorization in Gumloop’s connection manager |
| GPT-4o-mini returns poor summaries | Temperature too high or prompt too vague | Lower temperature to 0.2 and add more specific instructions |
What’s Next?
You’ve built an automated content research engine in Gumloop. Natural next steps:
- Try the pre-built templates — Gumloop ships with ready-made agents for CRM, support, and data analysis [5]
- Explore multi-agent orchestration — Create separate agents for research, writing, and editing that pass data between them [5]
- Connect more tools — Gumloop integrates with Slack, Notion, HubSpot, Gmail, and 50+ other apps [6]
- Invite your team — Pro plan includes unlimited seats, so your whole content team can use this workflow
For more Gumloop content, check out:
- Gumloop Review 2026 — Full platform review with pricing breakdown
- Gumloop vs n8n (2026) — Head-to-head comparison
- n8n vs Make (2026) — Alternative platform comparison
- Build Your First AI Agent in Make.com — Same tutorial for Make users
Ready to build? Open gumloop.com, create a new flow, and follow the steps above. You’ll have a working content research assistant in under 20 minutes.
Sources
- Gumloop Review 2026 — NoCode Insider — Model-agnostic LLM access and built-in AI capabilities
- Gumloop Pricing Page — Free plan (5,000 credits/mo) and Pro plan ($37/mo for 20,000+ credits)
- OpenAI Pricing — GPT-4o vs GPT-4o-mini cost comparison (GPT-4o-mini is ~20x cheaper per token)
- Automation Atlas — Gumloop Pricing 2026 — Case study: content agency saving 25 hours/month on Gumloop Pro
- Gumloop Official Site — Pre-built agent templates and multi-agent orchestration documentation
- Gumloop — Best AI Workflow Automation Tools — Integration library and app connections
📖 Related Reads
- ToolBrain — tool reviews, LLM comparisons, and AI workflow guides
- NiteAgent — AI agent development, frameworks, and production patterns
Cross-links automatically generated from NoCode Insider.
Reviews are independent and based on hands-on testing. Some links may be affiliate links — we earn a commission if you purchase, at no extra cost to you. This never affects our recommendations.