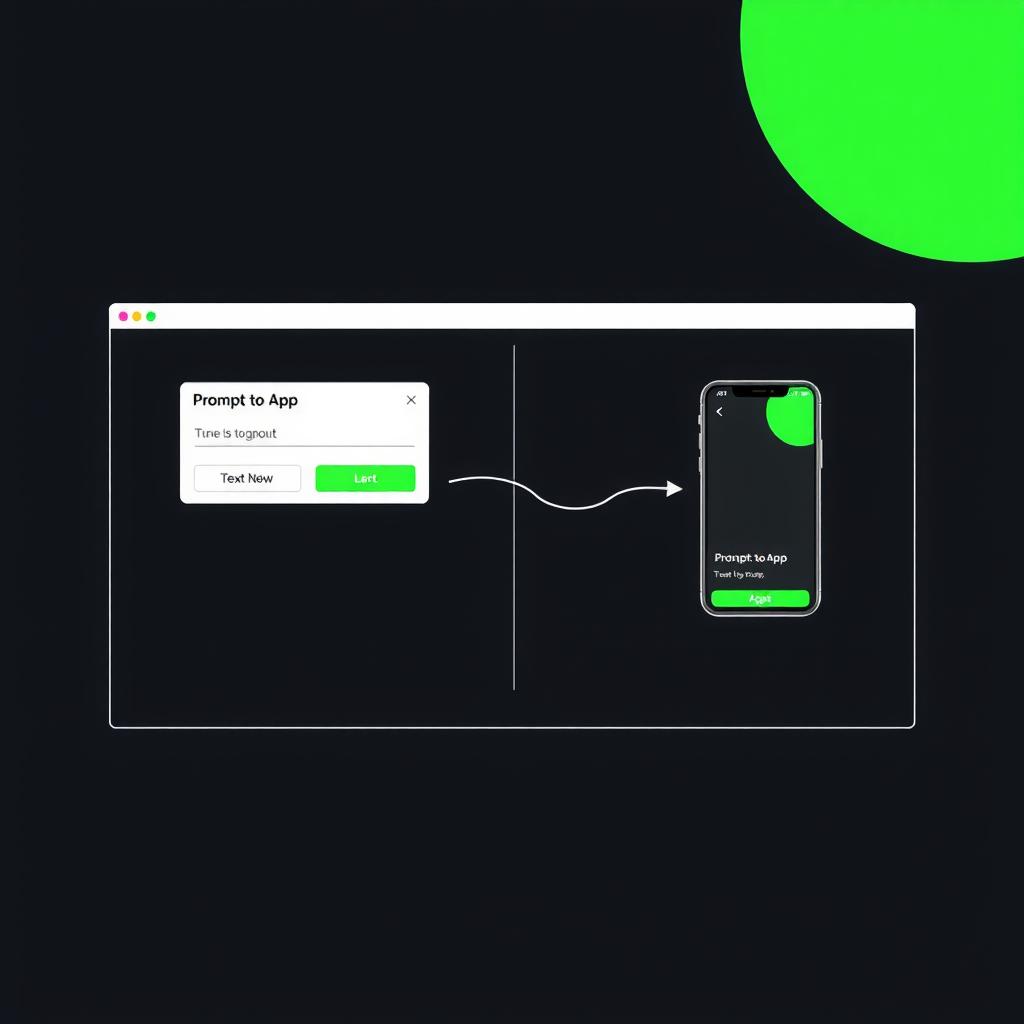
From Prompt to App: Building with Bubble's AI Generator — 2026 Step-by-Step Workflow
Complete step-by-step tutorial on building a real app with Bubble's AI generator — from crafting your prompt to deploying a working client portal. No code required. 30-minute workflow.
TL;DR: This tutorial walks you through Bubble’s AI app generator — from writing your first prompt to deploying a working Freelance Client Portal. You’ll learn how to craft an effective prompt, review what the AI builds, refine the data model and workflows, add user authentication, and go live. Total time: about 30 minutes for the first version.
Difficulty: Beginner-friendly — no coding, no Bubble experience required
Tools used: Bubble.io (free plan)
Time estimate: 30 minutes
Key takeaway: You can scaffold a working multi-page app from a single natural-language prompt and have a deployable result in under an hour
Why Bubble’s AI Generator Changes the Workflow
Bubble has been the dominant no-code web app builder since 2012 — a drag-and-drop editor with built-in database, visual workflow engine, and integrated hosting [1]. Until 2025, building an app meant manually creating every data type, page, and workflow from scratch.
The AI app generator (launched in 2025 and significantly improved through 2026) flips that. Instead of starting from a blank canvas, you describe your app in natural language and Bubble generates:
- Data types (your database schema)
- Pages (UI layout and navigation)
- Workflows (backend logic and button actions)
- Privacy rules (basic access controls)
What you get back is a scaffold — not a finished product — but it’s a massive head start. As Bubble’s own guide puts it: “You’ll prompt, review, refine, and repeat” [2].
The critical distinction from AI tools like Lovable or Bolt (which generate code) is that Bubble generates visual, editable app components. You can click on any generated page, data field, or workflow and modify it directly in Bubble’s no-code editor — no code to parse or debug [3].
What You’ll Build
By the end of this tutorial, you’ll have a Freelance Client Portal — a real app that lets:
- Clients log in, view their project details, upload files, and see invoices
- You (the freelancer) manage projects, track time, and send invoices from an admin dashboard
This isn’t a toy example — it’s a common pattern that hundreds of freelancers and small agencies run on Bubble [4].
Prerequisites
| Item | Cost | Where to Get It |
|---|---|---|
| Bubble account (Free plan) | $0 | bubble.io/signup |
| Web browser | Free | You’re using one |
| Your app idea (we’ll use the client portal) | Free | Described below |
Bubble’s Free plan gives you 50,000 Workload Units per month — enough to build and test this tutorial’s app with room to spare [5].
How the AI Generator Works — The Architecture
Bubble’s AI generator takes your prompt and produces four layers simultaneously:
┌──────────────────────────────────────────────────┐
│              Your Prompt (Text)                    │
│  "A client portal where freelancers manage..."    │
└────────────────────┬─────────────────────────────┘
                     │
                     ▼
┌──────────────────────────────────────────────────┐
│          Bubble AI Generator Engine                │
├──────────────────────────────────────────────────┤
│  ┌──────────┐  ┌──────────┐  ┌───────────────┐   │
│  │ Data     │  │ Pages    │  │ Workflows     │   │
│  │ Types    │  │ Layout   │  │ (Logic)       │   │
│  │ • Project│  │ • Dashboard│ • Create Project│   │
│  │ • Client │  │ • Project │ • Update Status │   │
│  │ • Invoice│  │ • Invoice │ • Send Invoice  │   │
│  │ • Task   │  │ • Profile │ • Upload File   │   │
│  └──────────┘  └──────────┘  └───────────────┘   │
└──────────────────────────────────────────────────┘
Each layer is fully editable in Bubble’s visual editor after generation. The AI doesn’t lock you into its choices — it gives you a starting point [1].
Step-by-Step Tutorial
Step 1: Create Your Bubble Account
- Go to bubble.io/signup
- Sign up with your email or Google account
- Confirm your email address
- You’ll land on the Bubble dashboard — the My Apps page
No credit card is required for the Free plan. You get access to the full editor, AI generator, and 50,000 WU/month.
Step 2: Start a New App with AI
- On the My Apps page, click Create an app
- You’ll see two options: Start from scratch and Create with AI
- Select Create with AI — this opens the AI prompt interface
- You’re looking at a single text field labeled “Describe your app in natural language”
This is the prompt box. Everything your app becomes starts here.
Step 3: Write Your Prompt
The quality of your scaffold depends almost entirely on the quality of your prompt. A vague prompt produces generic results. A structured prompt with specifics about data, user roles, and features produces a much more usable first draft.
Here’s the prompt we’ll use for the Freelance Client Portal:
Create a freelance client portal app with two user roles: freelancer (admin) and client.

Data types:
- Projects (title, description, status: active/completed/paused, hourly rate, total hours, client reference)
- Clients (name, email, company, phone, avatar)
- Invoices (invoice number, client reference, project reference, amount, status: draft/sent/paid/overdue, due date, line items)
- Tasks (title, description, status: todo/in_progress/done, project reference, assigned to, due date)

Pages:
- Landing page with login (both roles can sign up and log in)
- Freelancer dashboard showing all projects, overdue invoices, and recent activity
- Client dashboard showing only their own projects and invoices
- Project detail page with task list and file uploads
- Invoice page with PDF view and payment status
- Client profile page

Workflows:
- When a freelancer creates a project, send an email notification to the client
- When a client uploads a file, update the project activity log
- When an invoice is marked paid, update the project balance
- Clients can only see their own data
Prompting tips that work in 2026:
| Do | Don’t |
|---|---|
| List specific data fields with types | Write “make a project management app” |
| Describe user roles clearly | Forget about permissions |
| Mention page names and their purpose | Assume the AI will guess your layout |
| Specify workflow triggers | Leave business logic to chance |
| Be concise but complete (150–300 words) | Write a novel — the AI has a context window |
Bubble’s documentation confirms that “detailed prompts that specify data types, fields, user roles, and page layouts produce significantly better results” [3].
Step 4: Generate and Review
- Paste your prompt into the AI text field
- Click Generate app — Bubble will take 30–60 seconds to process
- You’ll see a preview of what was built with a summary like:
- “Generated 4 data types with 18 fields”
- “Created 6 pages with navigation”
- “Built 4 workflows with privacy rules”
Review the output immediately. The AI’s first pass is your best chance to catch structural issues before you start refining. Check:
- Data types: Are all fields present? Are the field types correct (text, number, date, etc.)?
- Pages: Are all the pages you asked for there? Is the navigation flow logical?
- Workflows: Do the triggers and actions match what you described?
If something’s missing or wrong: Don’t restart. Click Generate again with a revised prompt. Bubble’s AI is iterative — you can prompt multiple times, and each generation builds on the previous one. Missing a “Client can upload files” workflow? Add that line to your prompt and regenerate [2].
Step 5: Refine the Data Types
Once you’re satisfied with the scaffold, click Edit in Bubble Editor to open the full visual builder.
Navigate to the Data tab (left sidebar, database icon). Bubble’s AI will have created data types matching your prompt. For each type, check:
- Field types are correct — If “status” should be a dropdown (option set) rather than text, change it
- Relationships are set — Each “client reference” field should be a Data type → Client relationship, not a text field
- Privacy rules — The AI sets basic rules, but you’ll want to tune them:
- For the Projects data type, set: “When a client views a Project, they can only see projects where Client’s email = Current User’s email”
Practical example — fixing the Projects type:
| Field | AI Default | Fix |
|---|---|---|
| status | text | Change to Option Set with values: active, completed, paused |
| client reference | text | Change to Data type → Client relationship |
| hourly rate | number | Keep — already correct |
| total hours | number | Keep — already correct |
This refinement takes 5–10 minutes and dramatically improves how your app works.
Step 6: Tune the Workflows
Go to the Workflow tab (left sidebar, lightning bolt icon). The AI creates trigger-action pairs. For a client portal, the critical workflows to verify and tune:
When a freelancer creates a project:
- Trigger: Create a new Project
- Actions:
- (AI-generated) Add project to list
- (Add manually) Send email to the associated Client via Bubble’s built-in email action
- (Add manually) Create an activity log entry
When a client uploads a file:
- Trigger: File uploaded to a Project
- Actions:
- (AI-generated) Save file to storage
- (Add manually) Update Project’s “last activity” field with current date
- (Add manually) Send notification to freelancer email
Privacy rule workflows — These are the most commonly overlooked part. The AI generates basic rules, but manually verify:
┌──────────────────────────────────────────────┐
│ Privacy Rule: Projects                        │
│                                               │
│ When user is Freelancer → Full access         │
│ When user is Client →                         │
│   Only projects where:                        │
│   Project's Client's Email = Current User's   │
│   Email                                       │
└──────────────────────────────────────────────┘
Without these rules, clients could see each other’s projects — a critical security gap in a multi-tenant app [1].
Step 7: Style the UI
Bubble’s AI generates a functional but basic UI — plain white backgrounds, default fonts, minimal spacing. For a client-facing app, spend 10 minutes on polish:
- Go to the Style tab (color palette icon)
- Set your brand colors in the Global Styles panel:
| Property | Value |
|---|---|
| Page Background | #f8f9fa (light gray) |
| Primary Color | #22c55e (green accent) |
| Font | Inter (Bubble supports Google Fonts) |
- For each page, adjust the header and navigation to feel cohesive
- Add your logo as a Picture element in the header (repeat group across pages via reusable elements)
The AI handles layout structure; you handle the visual identity.
Step 8: Set Up Authentication
Bubble’s AI generator doesn’t always wire up signing up and logging in correctly. Navigate to the Settings tab → General → App type:
- Confirm the app type is set to Public/scheduled (not Admin-only)
- Go to Settings → API & Auth → OAuth / SSO
- Enable email signups with password
- Consider adding Google OAuth for easier client onboarding
Then go to your Landing page and make sure:
- The Sign up form creates a new User with the correct role (freelancer or client)
- The Log in button uses Bubble’s built-in Log the user in action
- After login, users are redirected based on their role: freelancers → /dashboard, clients → /my-projects
If the AI didn’t create role-based redirects, add a conditional in the login workflow:
Step 1: Log the user in
Step 2: If Current User's Role = "freelancer" → Go to page /dashboard
Step 3: If Current User's Role = "client" → Go to page /my-projects
Step 9: Deploy Your App
Bubble apps live on bubble.io by default — no separate hosting needed.
- Click Deploy (top-right of the editor)
- You’ll see Development (your editing environment) and Live (production) tabs
- Click Push to Live → Confirm
- Bubble provisions your app on a
yourappname.bubbleapps.iosubdomain instantly
For a custom domain:
- Go to Settings → Domain → Custom domain
- Add your domain (e.g.,
portal.yourfreelancestudio.com) - Follow Bubble’s DNS setup guide (CNAME record to
custom.bubble.io)
Pro tip: Use the Deploy preview feature before pushing to Live. It generates a shareable link so you can test the app with a client before making it public. This saved me from deploying a broken signup flow more than once [2].
Full Workflow Summary
Here’s the complete workflow from zero to deployed app:
┌─────────────────┐
│  1. Sign up for  │
│  Bubble (2 min)  │
└────────┬────────┘
         ▼
┌─────────────────┐
│  2. Write your   │
│  AI prompt (5min)│
└────────┬────────┘
         ▼
┌─────────────────┐
│  3. Generate     │
│  & review (3min) │
└────────┬────────┘
         ▼
┌─────────────────┐
│  4. Refine data  │
│  types (5 min)   │
└────────┬────────┘
         ▼
┌─────────────────┐
│  5. Tune         │
│  workflows (5min)│
└────────┬────────┘
         ▼
┌─────────────────┐
│  6. Style UI     │
│  (10 min)        │
└────────┬────────┘
         ▼
┌─────────────────┐
│  7. Auth setup   │
│  (5 min)         │
└────────┬────────┘
         ▼
┌─────────────────┐
│  8. Deploy!      │
│  (2 min)         │
└─────────────────┘

Total: ~30-35 minutes
When to Use Bubble’s AI Generator vs Building Manually
Based on real community feedback from the Bubble Forum [7] and Bubble’s own official guidance [4], the AI generator is not the right choice for every project:
| Use the AI Generator When | Build Manually When |
|---|---|
| You have a clear idea of the data model and features | You’re exploring and don’t know what you need yet |
| You want a working prototype in under an hour | You need pixel-perfect control from the start |
| You’re building a standard app pattern (portal, marketplace, CRM, directory) | You’re building something with highly custom UI or non-standard logic |
| You’re a beginner who wants to learn from a working example | You’re experienced and find it faster to build from scratch |
The AI generator is a productivity tool, not a replacement for understanding Bubble fundamentals. Every generated app needs refinement — treat the output as a draft, not a delivery.
Common Pitfalls and How to Avoid Them
| Pitfall | Why It Happens | Fix |
|---|---|---|
| Vague app structure | Prompt was too short (under 50 words) | Use the detailed prompt template above — 150–300 words |
| Wrong field types | AI defaults to text for everything | Manually fix in the Data tab after generation (Step 5) |
| No privacy rules | AI generates basic rules, often incomplete | Always review and test privacy rules before deploying (Step 6) |
| Broken navigation | AI assumes a hierarchy that doesn’t match your UX | Check the Page tree and adjust navigation links |
| The app looks generic | AI uses Bubble defaults for styling | Invest 10 minutes on branding (Step 7) — it makes the difference between “looks like a template” and “looks professional” |
Beyond the Tutorial — Next Steps
Once your client portal is deployed, here’s what to add next:
- File uploads for clients — Use Bubble’s built-in file storage (1 GB on the Free plan) or connect Cloudinary for image optimization
- Stripe integration — Take payments directly from invoices via Bubble’s Stripe plugin
- Email notifications — Use Bubble’s email action (limited on Free) or connect SendGrid for transactional emails
- Activity log — A data type that records every action (project created, file uploaded, invoice paid) sorted by reverse date
- Mobile responsive layout — Bubble apps work on mobile by default, but the AI layout often needs responsive adjustments in the editor
For each of these, the pattern is the same: create the data type, build the page, wire the workflow, set the privacy rule. The AI generator can help scaffold each new feature too — just describe it in a prompt within the existing app.
References
- Bubble Docs — Generate Apps with AI — Official Bubble documentation on prompt crafting and generation workflow
- Bubble Blog — How to Build an App With AI: 2026 Walk-Through — Bubble’s official step-by-step AI app building guide
- Bubble Blog — The Beginner’s Guide to AI + Bubble (June 2026) — Overview of AI features in Bubble as of mid-2026
- Bubble Blog — AI Tools for App Development: Complete 2026 Guide — Bubble’s guide covering data structure, workflows, and privacy rules after AI generation
- Bubble Pricing Page — Official pricing with WU breakdown across all plans
- Bubble Academy — Privacy Rules Course — Official Bubble training on setting up data privacy and access controls
- Bubble Forum — AI App Builder Feedback Thread — Community feedback on AI generator quality and improvements through 2026
- Bubble Blog — Bubble Community Update June 2026 — Latest platform updates and AI feature enhancements
Published: July 5, 2026 | Last verified: 2026-07-05
📖 Related Reads
- ToolBrain — tool reviews, LLM comparisons, and AI workflow guides
Cross-links automatically generated from NoCode Insider.
Reviews are independent and based on hands-on testing. Some links may be affiliate links — we earn a commission if you purchase, at no extra cost to you. This never affects our recommendations.